I know today is supposed to be my what I’ve seen this week day, but I’ve seen absolutely nothing at all, so I had to come up with something a little different.
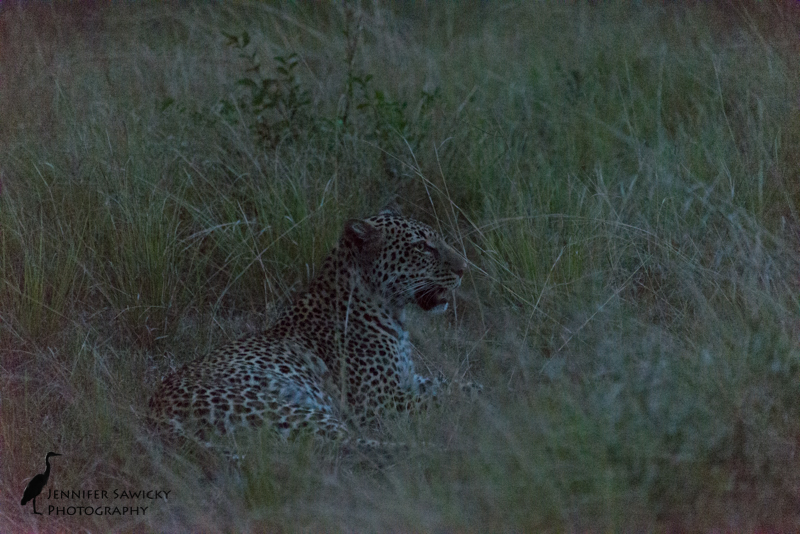
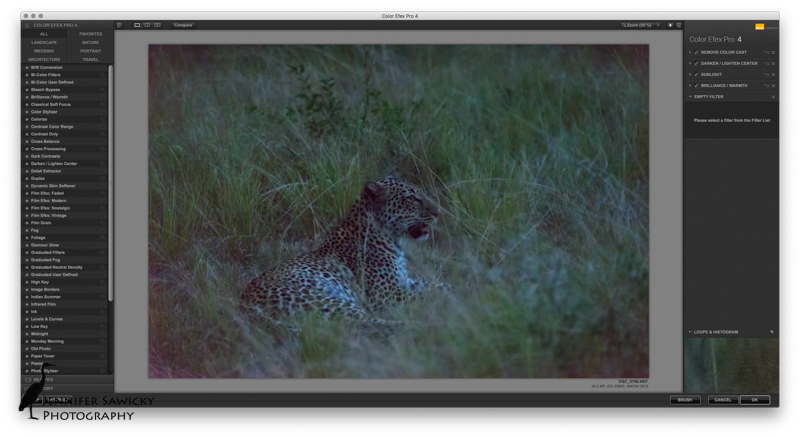
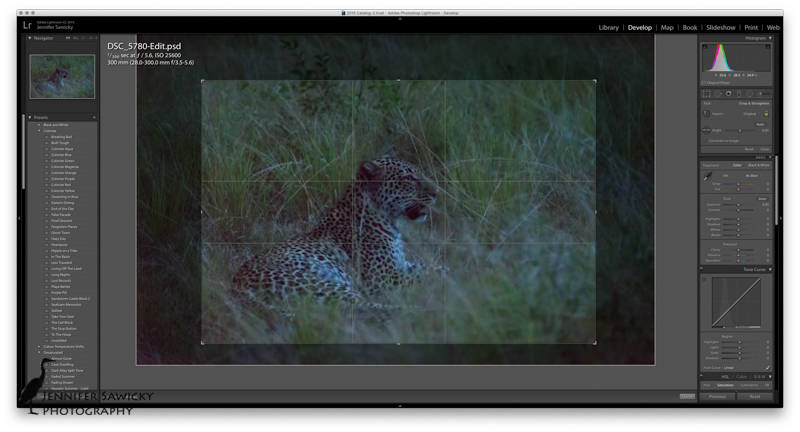
When I was in Queen Elizabeth Park in Uganda, we were lucky enough to come across a leopard, once in the morning for a fleeting glimpse, and then for a longer period just before nightfall. Four of the six people that were also on the tour had never seen a leopard in the wild before. It was drizzly, near dark, and I was shooting from a vehicle where people were moving around a fair bit, so I had to deal with both movement of my subject and where I was located. Some of the photos I took were at 1/100sec, f5.6, ISO 25,640. No, the ISO isn’t a typo. I believe on my Nikon it was called Hi2.0.
I have been extremely blessed with leopard sightings over the years (check out Lions vs A Leopard or 2016-10-17: Monochrome Monday for just a couple examples), but I continued to photograph this one because I thought it would be interesting to see how the images turned out, and what I could do with them. While everyone else was heading on to other safari destinations after our Uganda tour, there is no guarantee they would get another leopard sighting… what if an image like this was the best that you could get?
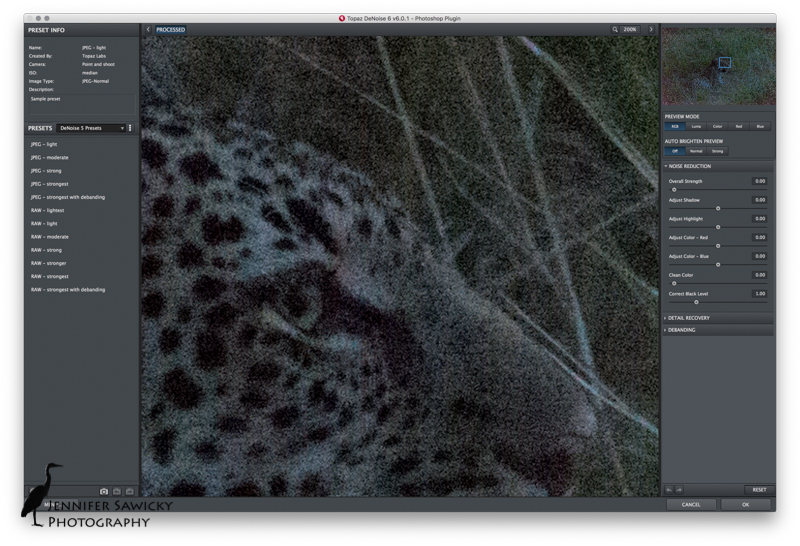
Below is the process I used to work through this particular image, and the end result.
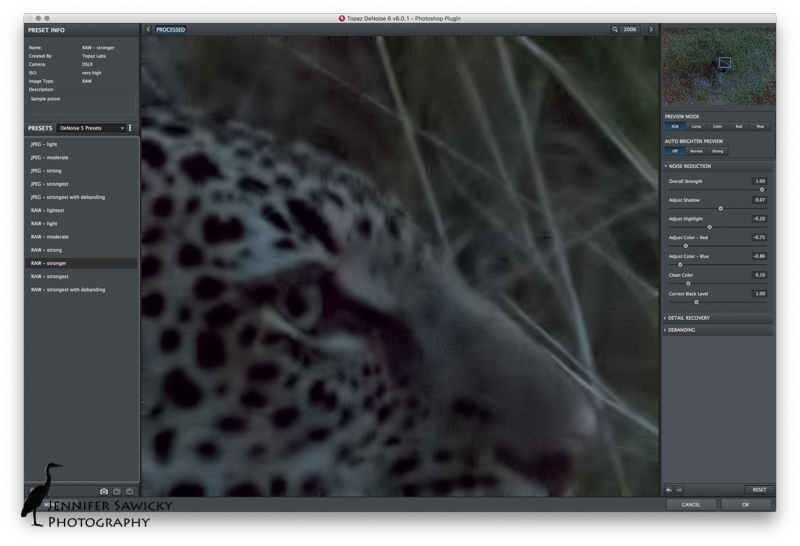
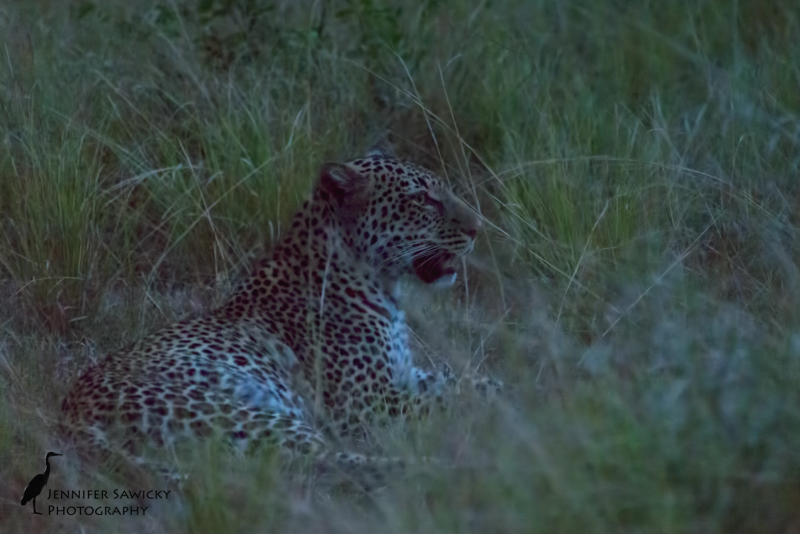
So there you have a before and after – let me know if posts like this are something you would like to see more of in the future.
Please visit:
www.jennifersawickyphotography.com for wildlife, landscape and nature inspired artwork.
and
https://shopvida.com/collections/voices/jennifer-sawicky for textiles inspired by my photography.
0 Replies to “2017-01-29: Leopard Before and After”